
Vintage Oscillograph Restoration
July 31, 2008 8:57 pm RestorationPreviously I posted about a vintage Clough-Brengle oscillograph I obtained. It’s been a long process, but I’ve restored it to operational condition.
One of the first steps in the process was to figure out what needed to be fixed. In electronics this old, the first thing I check are the capacitors. They were mostly paper capacitors which I just replace outright since they usually fail.
For this restoration project, I want to keep the vintage look as best as possible. One way is to dress up the new capacitors in the clothes of the old capacitors.
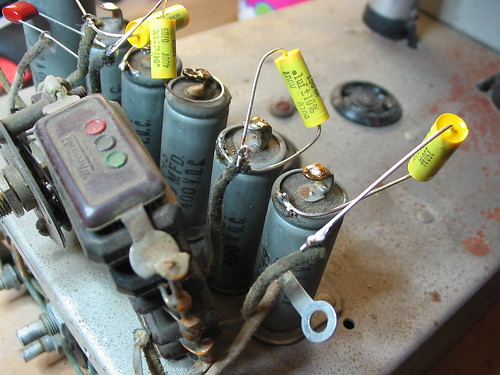
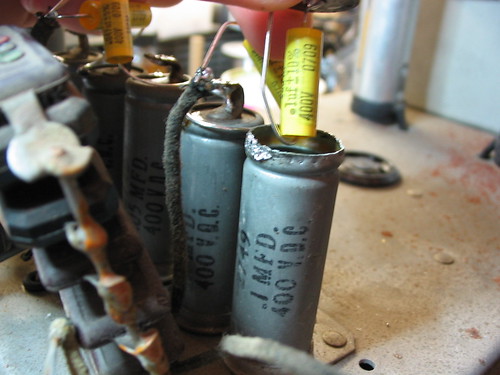
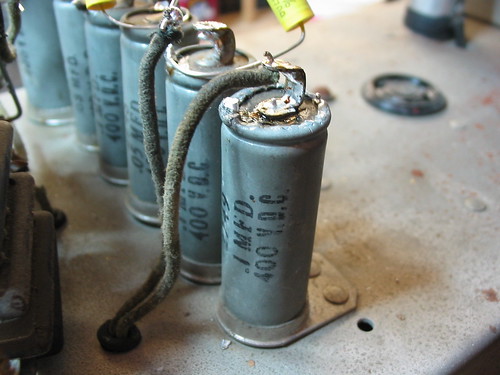
In this picture you can see the metal cans containing the old capacitors and the new ones soldered on top for testing purposes.
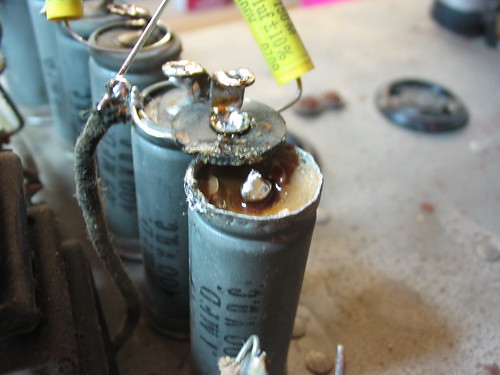
Here I have used pliers to bend the flange back and remove the “lid.” The stuff inside is a wax that insulates and holds the actual capacitor roll in place.
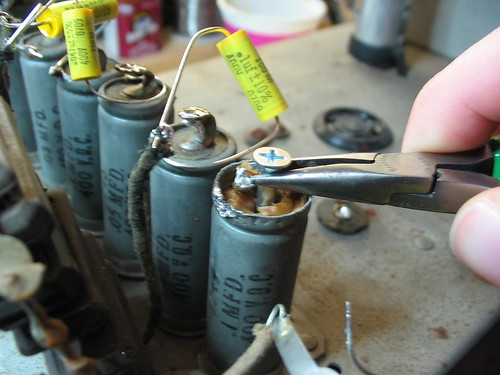
The easiest way to remove it was to put a big wood screw right in and pull it out with pliers.
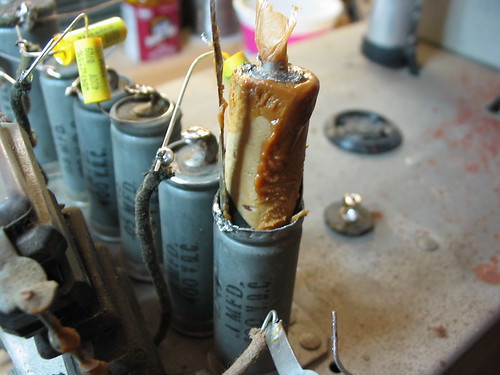
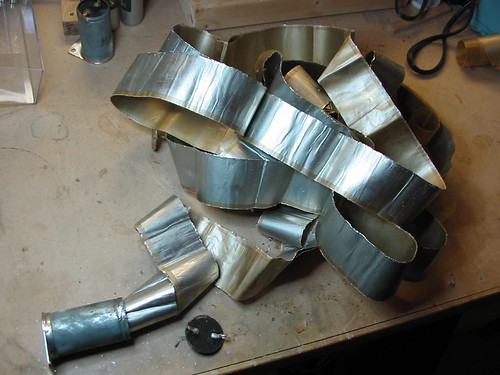
Now you can see what the roll itself looks like. It’s actually Kraft paper (like a very thin version of grocery bag paper) that has been vacuum deposited with an aluminum film. Two sheets are rolled up together producing the capacitor. The Kraft paper is impregnated with oil to increase the dielectric strength.
Here’s a larger one that I unrolled all across my workbench.
Notice how much smaller the new capacitor is. This fits easily in the metal can that once contained the old capacitor.
It was difficult to close the rolled metal lip without denting it, so it doesn’t quite look like the original, but it still beats ripping out the old capacitor or having the new capacitor squat on top like some sort of parasitic insect.
After recapping everything, it was time to strip down the chassis and get rid of the rust. I got rid of most of it, although there was a lot of pitting and such left over. I used Naval Jelly which does a good job of converting the original iron oxide (ugly red rust that spreads like gangrene) to iron phosphate (which pretty much just sits there). The grommets had all hardened and were crumbling off, so I replaced those as well.
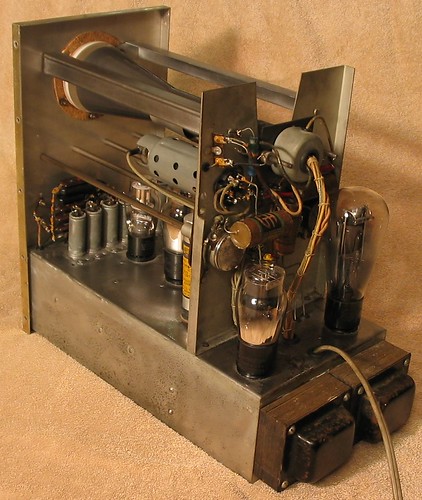
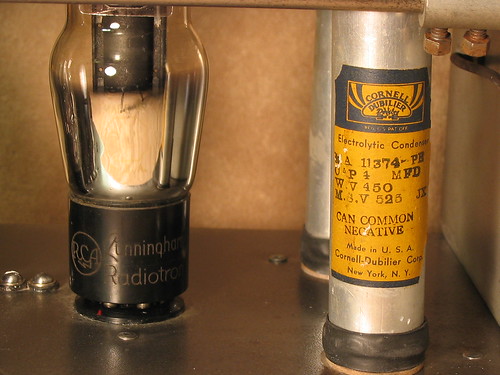
Here’s a closeup of the back. You can see a few cardboard-roll style capacitors which have actually been gutted and fitted with shiny new capacitors on the inside. I sealed the ends using the old wax. Speaking of capacitors, I also had to replace two big electrolytic filter capacitors. The insides were filled with hardened pitch which I had to drill out to make room for the new capacitors, which were about 1/10th the size. Don’t you like the label?
This thing runs great now. I even dragged it out to the Maker Faire, but I didn’t plug it in for fear of wandering fingers (I left the cover off to expose the excellence inside).
Rodge :
Date: August 23, 2020 @ 4:57 am
What a really nice restoration! Thanks for sharing that, and the ‘keeping the old cap casing’ idea is excellent. I have an old viking messenger cb radio which I’m inspired to clean up